Main
Welcome view
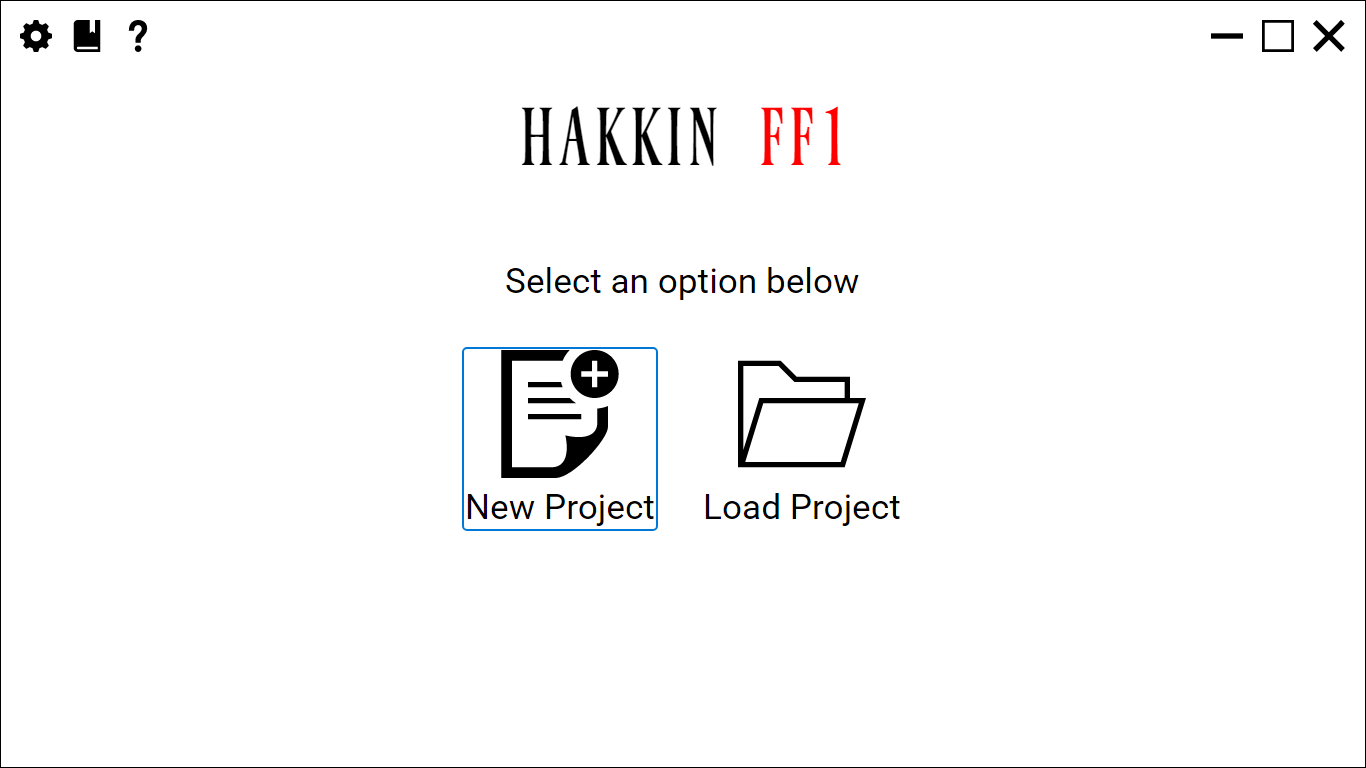
The Welcome view is the first thing you see when the app starts. It offers two choices:
 New Project opens the New Project view. Setup and Start walks through creating each kind of project.
 Load Project opens the Load Project view.
Both buttons work with the keyboard: Tab to them, or move between them with the arrow keys. Closing a project from the Landing view brings you back here.
Caption bar
HakkinFF1 draws its own caption bar across the top of the window. It appears on the Welcome view, the Landing view, and every editor and tool. In the middle is the HAKKINFF1 banner followed by the name of the current page, for example HAKKINFF1 Armor. The Welcome view hides the banner text, since its own heading already shows the name. Each editor tints the bar in its own color, so you can tell at a glance where you are. Drag the bar to move the window.

Left icons
 App Settings opens App Settings. Save or Cancel takes you back to the page you came from.
 Help is reserved for in-app documentation. It's hidden in the current release, and will appear when that documentation ships. Until then, this site is the documentation.
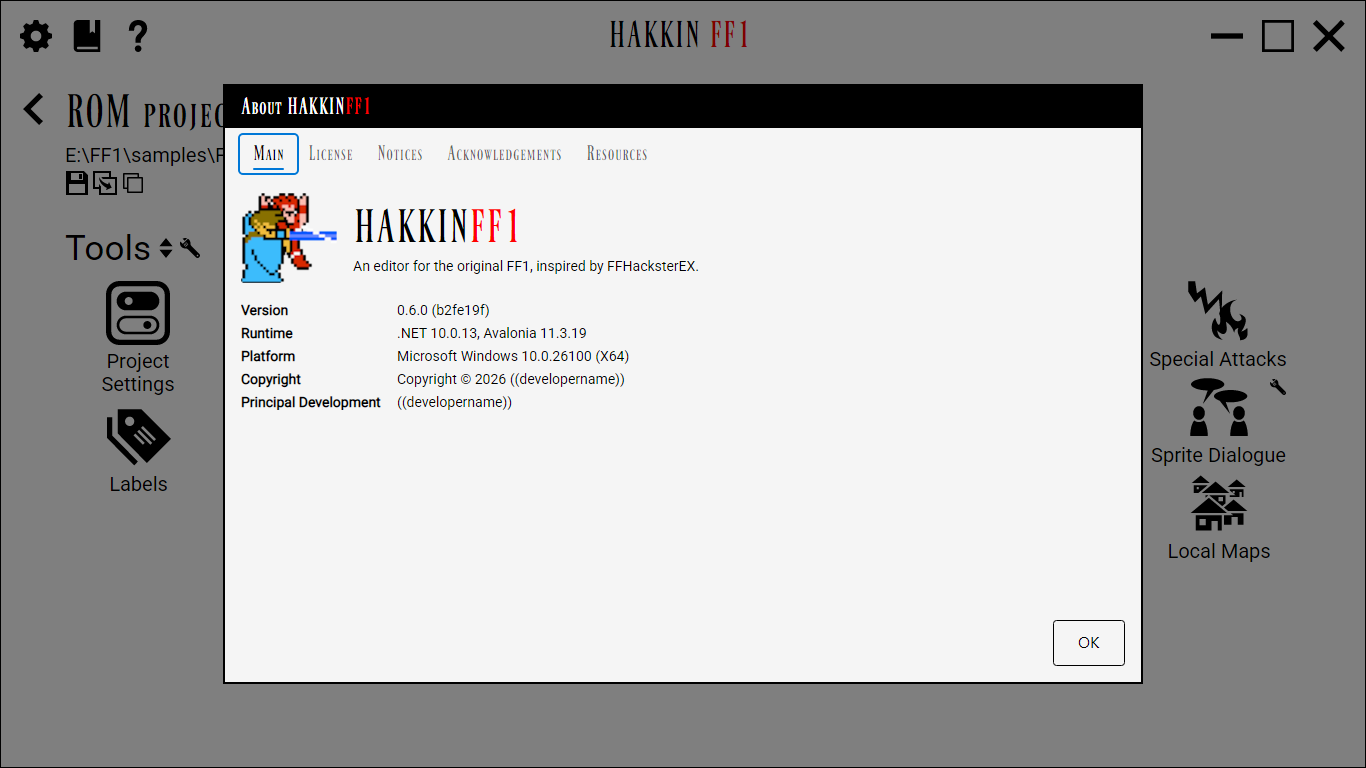
 About opens the About dialog over the current page. Its tabs are Main (version, runtime, platform, and copyright, all selectable so you can copy them into a bug report), License, Notices (third-party licenses, with a table of contents), Acknowledgements, and Resources. The same material is on this site's License and About pages.
Right icons
 Minimize minimizes the window.
 Maximize maximizes the window. While it's maximized, the icon changes to
 Restore, which
returns the window to its previous size.
 Close exits the app.
Escape key. You can also have Escape cancel editors and exit the app from the Welcome and Landing views, with or without a confirmation prompt. Both options are in App Settings.
Load Project view
Clicking Load Project on the Welcome view opens this view. Choose one of the sources below, or click Cancel to return to the Welcome view.
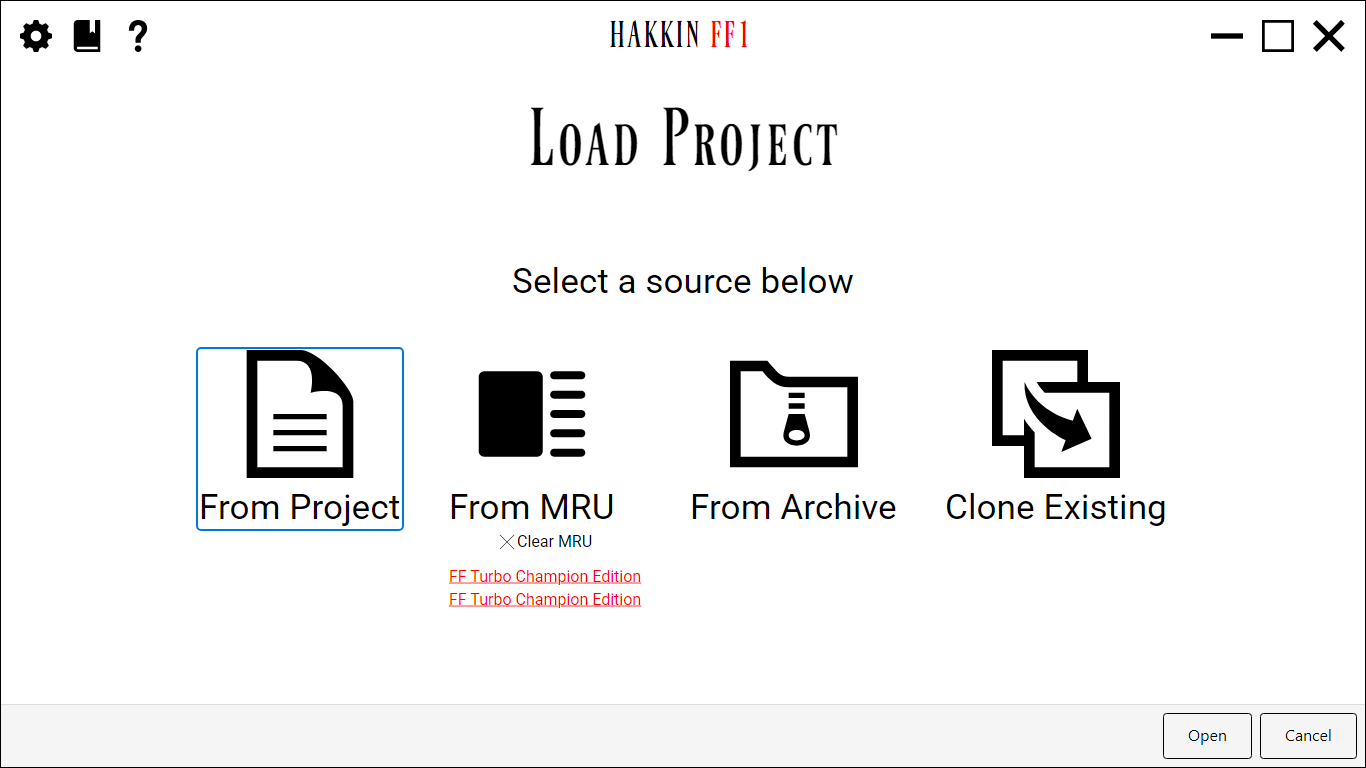
From Project
Opens a file browser for project files: .ff1r for ROM projects and .ff1a for assembly
projects. Choosing one opens the project. If you've set a
Project Parent Folder preferred folder, the browser
starts there.
From MRU
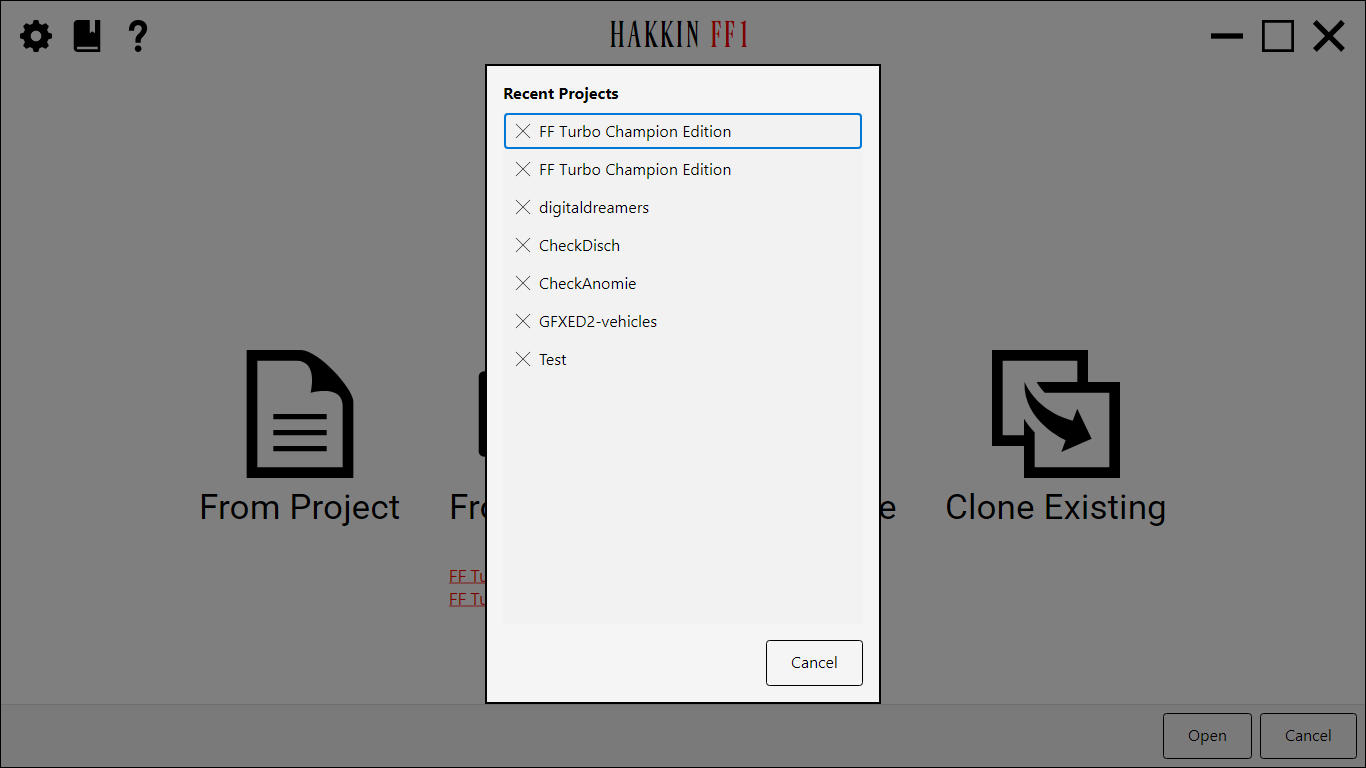
Opens your most recently used projects in an overlay. Click a row to open that project right away. Click a row's
 to remove it from the list. Removing the last entry closes the overlay.
If a listed project has been moved or deleted since you last opened it, choosing it tells you so and removes the
entry.
Under the button, Clear MRU empties the list, and the two most recent projects are listed as links that open directly. The whole column is hidden until there's at least one recent project. Creating a project adds it to the list, the same as opening one.
From Archive
Restores a project from an HFF1 archive (.hff1zip), the kind made by the Landing view's
export button. Choose the archive, a New Project Name, and the
parent folder to create it in, then click Create. The app extracts the archive into
<parent>\<new name>, renames the project's files to the new name, and opens it. It won't
overwrite an existing folder with the same name.
Clone Existing
Makes a copy of an existing project under a new name. Choose the source project file, a New Project Name, and the parent folder, then click Create. The app copies the whole project folder, renames the project's files to the new name, and opens the copy. The original isn't touched.
Landing view
The Landing view is a project's home page. You return to it whenever you leave an editor or tool.
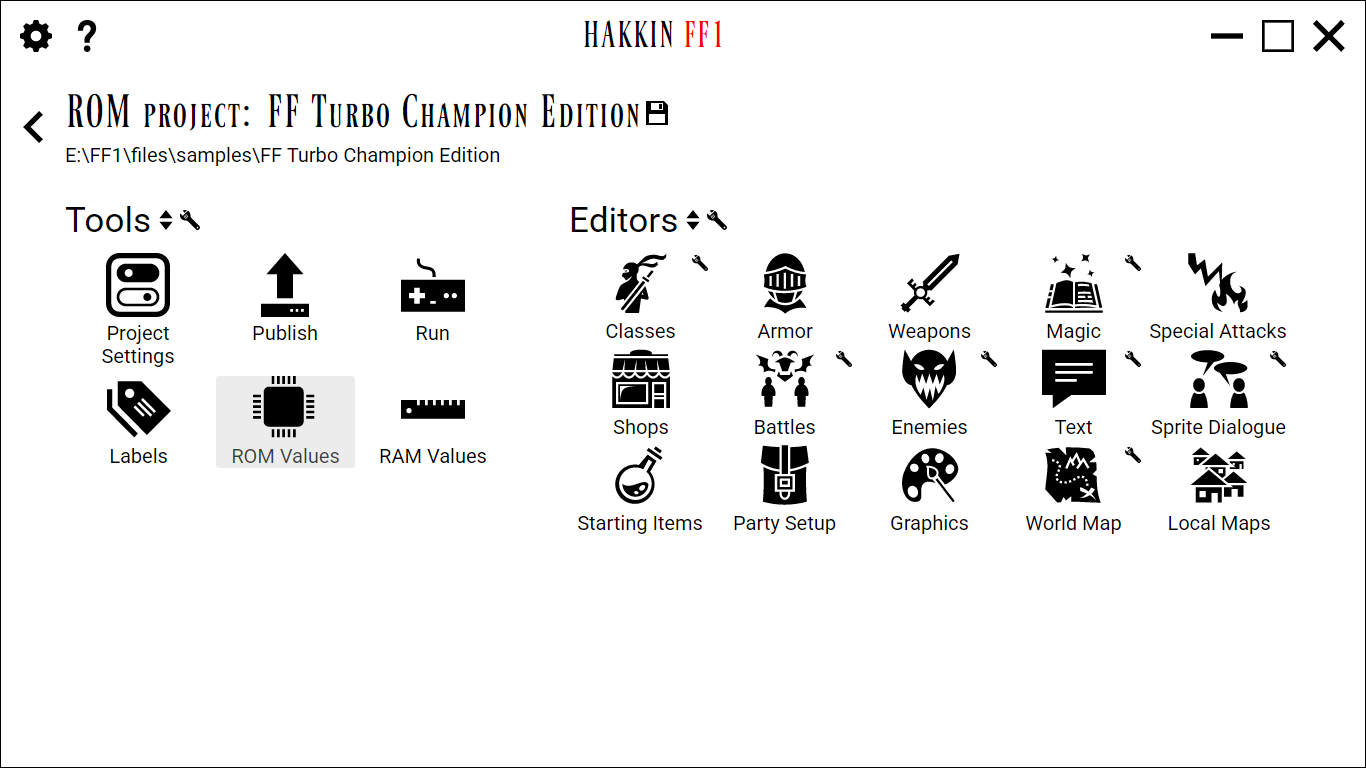
Project header
The top of the view shows the project's type and name, for example ASM project: FunnelFantasy, with its folder underneath.
 Back (top left) closes the project and returns to the Welcome view.
 Export project as HFF1 archive... (next to the name) zips the project's folder into a
.hff1zipfile. You can bring the archive back with From Archive, on this machine or another one.
Tools
The left column lists the project's tools: Project Settings, Publish, Run, Labels, ROM Values, and RAM Values, plus any tools added by extensions. Each tool is described on the Tools page. Next to the Tools heading:
 Reorder Tools... changes the order of the list. See Reorder Tools overlay.
 Select Tool Modules... chooses which module each tool uses, and hides tools you don't need. See Select Tool Modules overlay.
Editors
The right column shows the project's editors as a grid of buttons. The grid uses fewer columns as the window narrows.
Click a button to open that editor; each one is described on the Editors
pages. An editor that has settings shows a small in its top-right corner. Click
it, or right-click the button and choose Edit Settings..., to open its
settings overlay. Next to the Editors heading:
- Reorder Editors...: see Reorder Editors overlay.
- Select Editor Modules...: see Select Editor Modules overlay.
The order you choose and the modules you pick are saved with the project, so each project can have its own layout. If a list is longer than the window, it scrolls, and a line along its bottom edge shows there's more below.